SETUP VISITOR MANAGEMENT SYSTEM
NCheck visitor management system consist with following components
NCheck visitor management server
NCheck visitor management Android client
NCheck visitor management Windows client
This section explains download and installation of the NCheck visitor management Server and client application.
System requirements
Following system requirements should be satisfied to setup the system
server system requirements
Microsoft Windows 8 or higher operating system
1GB of disk space
4GB of RAM
Windows client system requirements
Microsoft Windows 8 or higher operating system
1GB of disk space
4GB of RAM
One supported peripheral as mentioned in the in Peripherals section
Android client system requirements
Android phone or tablet running Android 4.4 OS or later version
2 GB of RAM
USB OTG (USB On the Go) feature if using peripherals as mentioned in the in peripheral section
Install for windows
Download 64-bit version or 32-bit version of windows installer from https://www.ncheck.net web site. This installer has following components
NCheck visitor management server
NCheck visitor management client
Note
NCheck visitor management Server installation also install NCheck visitor management client. Administrator privilege is required to install NCheck visitor management on windows.
Note
Before install NCheck visitor management for Windows, make sure that you have installed latest Windows updates in your computer.
To proceed with the installation, execute the downloaded installation file. It will proceed you through following screens
Accept NCheck visitor management license agreement
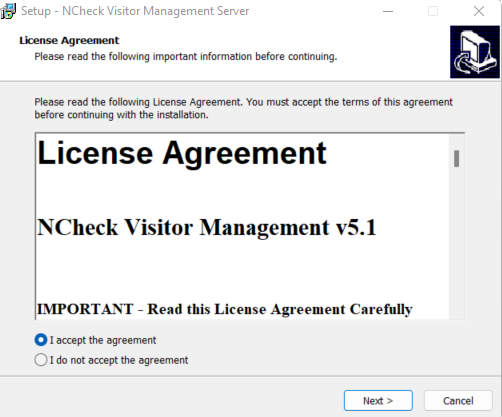
Figure 28 License and agreement dialog
Select Next button
Select the installing location. The default installation location for 32bit installer is C:\Program Files(x86)\Neurotechnology\
NCheck Visitor Management and for 64bit installer is C:\Program FilesNeurotechnology\NCheck Visitor Management
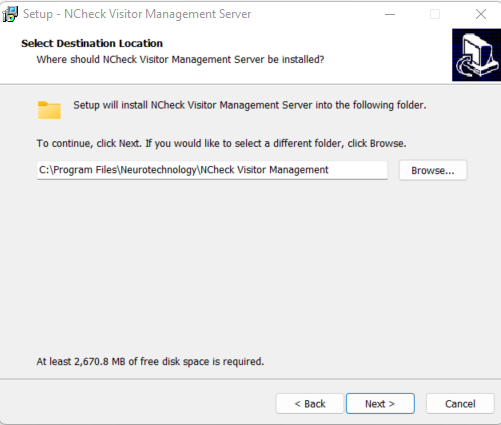
Figure 29 Select destination location dialog
Select next button in select component dialog
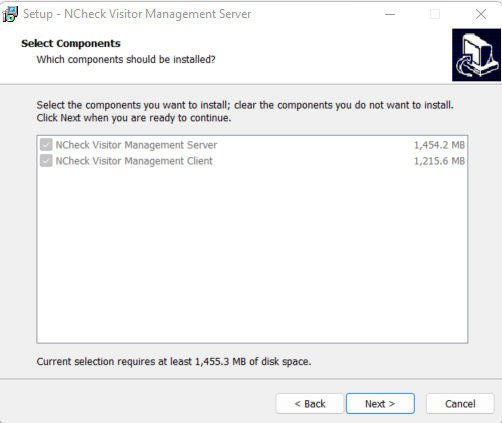
Select Next button
Select Create a desktop shortcut option to create a shortcut to open NCheck visitor management client application if installed
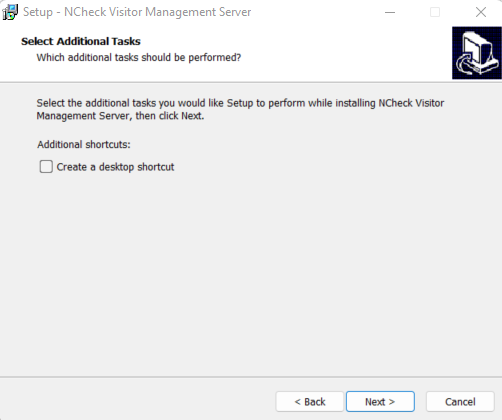
Figure 30 Select additional tasks dialog
Select Next button
Review the install configuration before install the NCheck visitor management.
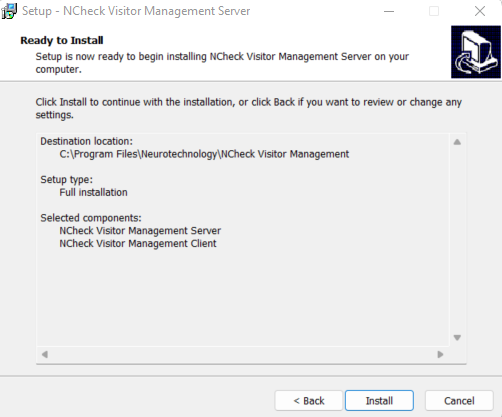
Figure 31 Ready to install dialog
Select Install button
While installing, it will ask to select the license. Select valid license and select activate. For more information about licensing refer Activate license section for more information.
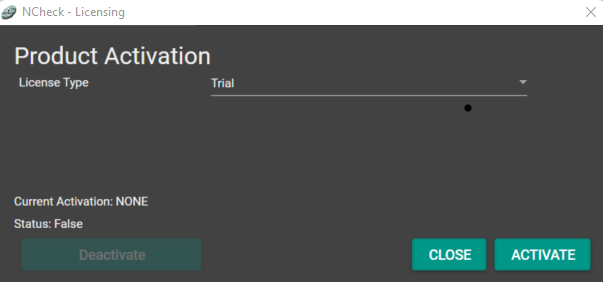
Figure 32 License activation dialog
In the completion dialog, you will be asked to
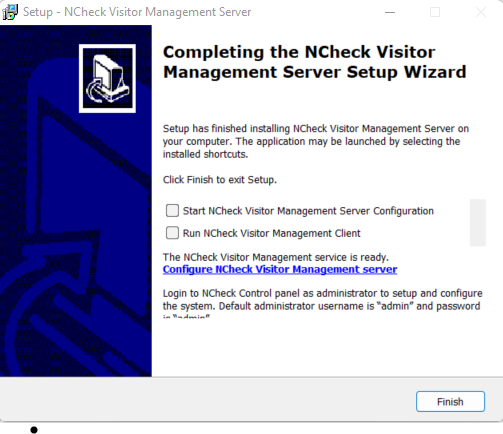
Figure 33 Completion dialog
NCheck visitor management configuration
Run NCheck visitor management. client
Select Finish button
Install server for Windows
To install NCheck visitor management server
Follow the Install for windows section above.
If this installation is an update of existing installation, it may ask to stop running tasks.
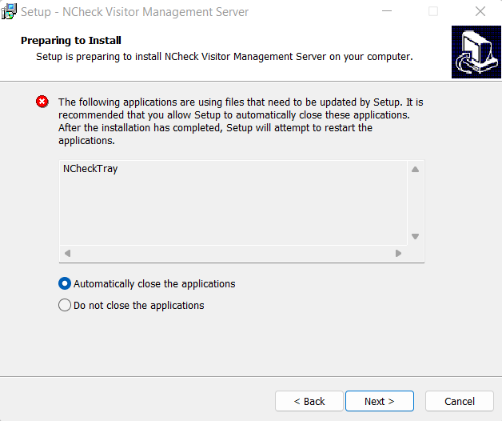
Figure 34 Server setup dialog
In installation completion, it will show the server installation completion dialog as showen in Figure 33 .
In successful completion, Server will be installed, and server icon will be appearing in the Windows system tray as shown in
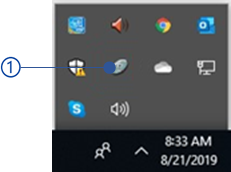
Figure 35 Tray icon
Install client for Windows
To install NCheck visitor management client
Follow the Install for windows section above
If this installation is an update of existing installation it may ask to stop running tasks
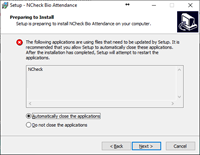
Figure 36 Client setup dialog
In installation completion, it will show the client installation completion dialogue as showen in Figure 311 Client setup completed dialogue in the completion window, You have following options
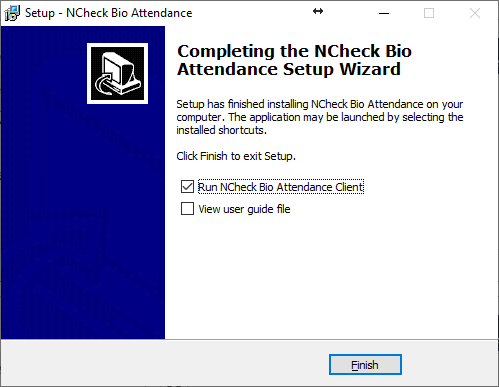
Figure 37 Client setup completion dialog
Run NCheck visitor management client
View the User’s Guide
Install Android clients
NCheck visitor management application can be download and installed from
Android play store
NCheck visitor management download page
Activate license
To start NCheck visitor management server and client application valid NCheck visitor management license must be required. Refer License and activation section for more information.
Use extension
NCheck visitor management features can be extended or customized based on the customer requirements. The extended/customized features are providing as an extension(extension.jar) to the system. To place the extension,
Stop the server from the trey application menu as mentioned in Tray icon menu section.
Places the extension.jar in the root directory of the NCheck visitor management installation folder. For an example if the server has installed in C:Program FilesNeurotechnologyNCheck Visitor Management, the path of the extension.jar will be C:Program FilesNeurotechnologyNCheck Visitor Managementextension.jar
Start the server from the trey application menu as mentioned in Tray icon menu section
Note
NCheck visitor management is validating the provided extension when server start using the filter signature due to the security concern